Strap in, today’s a doozy.
If you’re joining us for the first time, each month we build a new business from Scratch in 30 days – We call it The Bizathon Challenge!
This month we’re featuring a Membership Website.
Yesterday we covered Setup Your First Facebook Ads – A Professional Marketers Step By Step Guide.
Today, Day 21 of the #Bizathon challenge, we’re creating and launching our first Facebook Retargeting Ad campaigns. These are advanced marketing concepts that most “experts” ignore.
Follow along as Rito walks you through the entire process in the video below:
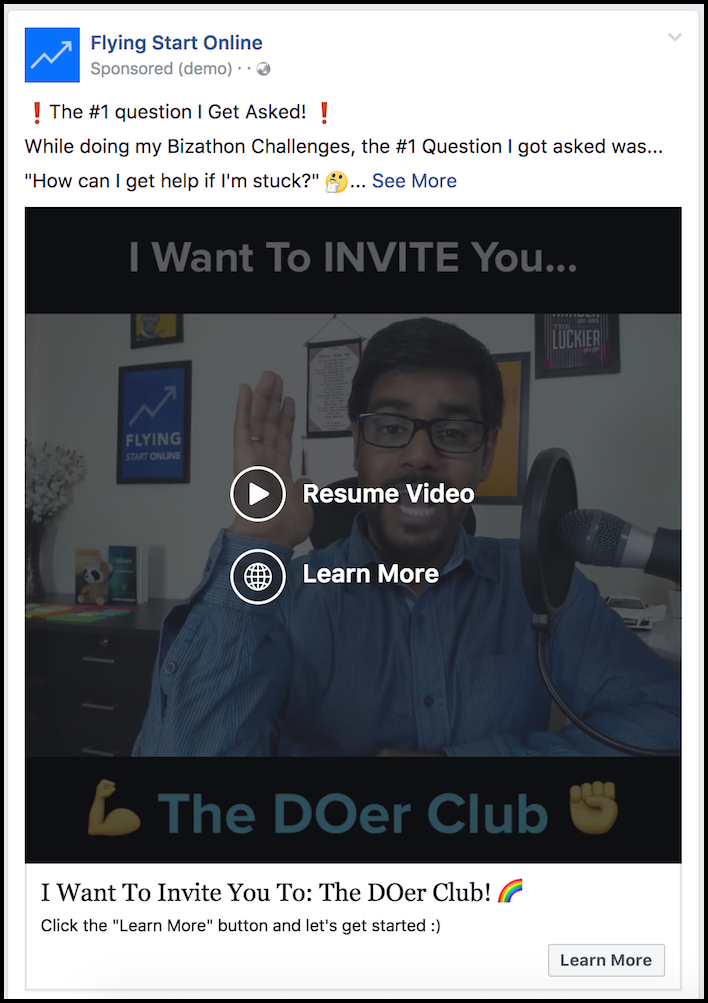
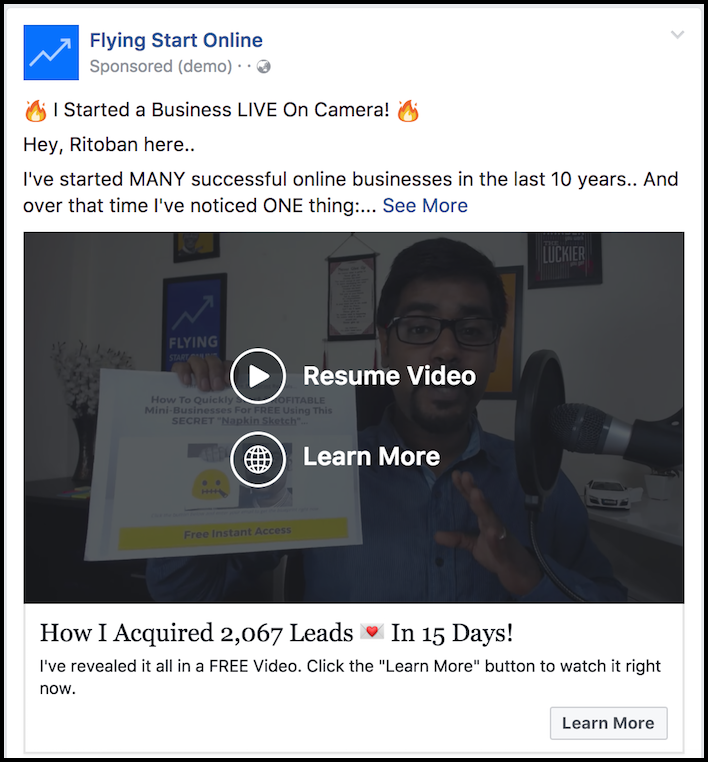
Create & Launch Your First 3 Facebook Retargeting Ads…
Retargeting is incredibly powerful.
Facebook allows us to recapture lost leads and visitors. Engaging and re-engaging them with your products, services and ultimately your brand.
You can actually retarget people all sorts of ways, but we’re focusing on Facebook.
And in this case, our membership website will be the product we are promoting.
Btw, thedoerclub.com is already seeing sales – it hasn’t even been 30 days!
Today we’re going to start by logging into business.facebook.com
And in our case we are first going to create a target audience for existing website leads.
Create Retargeted Facebook Ad for Leads

We’re targeting the exact people we should be targeting at very specific points in there journey with us.
- Click the “Audiences” drop down menu in the upper left corner of the page.
- Click “Create Audience” -> “Custom” -> select “Website Traffic”
- On the following page select “Lead” from dropdown menu -> select “In the Past 3 Days”
- We’ll name ours “FSO Leads” <- name yours accordingly
- Click “Create Audience”
Boom!
Audience created.
We’re actually going to rinse and repeat this process for new leads that have occurred in the past 3, 7 10 and 15 days.
So repeat the process:
- Create Custom Audience
- Select Website Traffic for the objective
- Choose Lead -> 7 Days
- Create Audience
We’re going to repeat that process for 10 and 15 days as well before moving on.
Creating multiple audiences, with multiple video or graphic creatives to go along with them; is in a sense a Facebook advertising hack.
Facebook regards new ads from the same advertiser as being quality and ads they want to use. When you use the same ads for a while without mixing it up, you won’t get the same love.
Create Retargeted Facebook Ad for Visitors

This time we’re setting up an audience comprising of existing website visitors.
Once again we start by selecting “Audiences” from the drop down menu in the upper left corner of the page.
- Click “Create Audience” -> “Custom” -> “Website Traffic” as the objective.
- On the following page select “Visitors” -> “In the Past 3 Days.”
- Include all website visitors automatically as they’re a default target market.
- We’ll name ours “FSO Visitors”
- Click “Create Audience”
Done.
Now, as we did with our Retargeted Lead Ads, rinse and repeat the above process. Include visitors occurring within the past 7, 10 and 15 days.
Before we setup and initiate our campaigns, we still need to create one more custom audience.
This time we are targeting our existing customers.
Create Retargeted Facebook Ad for Customers
This is a critical step many marketers overlook.
Our existing customers are primary targets as they’ve already shown interest in our products and services with a willingness to pay.
The process of setting up this custom audience is very much the same as the other two aforementioned ads with the difference coming when we choose the “Purchase” pixel rather than Lead or Visitor.
Marketer’s Note: Facebook deposits tiny pixels onto user servers in order to track target behavior. Ever wonder how the ads appearing in your sidebar knew you visited an outdoor site earlier that day?
You guessed it, begin by clicking:
- “Create Audience” -> “Custom” -> “Website Traffic” as objective once again.
- On the following page select “Purchase” -> “In the Past 3 Days.”
- Include all website visitors automatically as they’re a default target market.
- We’ll name ours “DOer Customers”.
- Click “Create Audience.”
And like we did with our “Lead” and “Visitor” ads, rinse and repeat the above process to include customers occurring within the past 7, 10 and 15 days.
Launch Your First Campaign
By now our creatives (graphics and videos) should already be created.
Assuming that’s the case and you’ve been following along, we’re now going to setup and launch our very first campaigns.
From within the same Facebook Business Center click:
- “Asset Library” then select “Ad Manager”
- In the upper right hand corner, click “Create”
- When it asks your Marketing Objective, we are going to select “Conversions”
- In our case, we select our first campaign which is DOer Retargeted 3 Day Visitors.
- From here, click “Continue”
- Select the major countries (U.S., Canada, U.K., China & Australia).
- Select English as the primary language.
- Uncheck expand your selection -> edit placement.
When Facebook asks where to display the ads, uncheck the following:
- Messenger
- Audience Network
We are only going to have “Facebook” selected.
And from that Facebook drop down menu, uncheck “Instant Articles”
Scroll down to Budget -> Keep it small for now, in our case, we are setting a $200 budget.
Now you’re going to select “Conversions -> 7 Day Click as the conversion event -> Bill Amount set to Automatic
Click “Continue.”
On the next screen you’ll choose the Facebook page associated with your ad.
For us, we will select the “Flying Start Online” Facebook Page.
Now move onto “Format” -> Select “Single Video”
Scroll down to where it says video and click the “+” to add your video.
Almost done…
Move on to where it says Links, and enter your website destination URL. We’re going to use doer.flyingstartonline.com/start for ours.
Enter your headline and additional headline text. For the text, we’ll use autoresponder content we’ve already created since it’s targeted and already done.
Rito likes to use emojis from GetEmoji.com to help the ad copy pop.
Choose your Call to Action text button…
We are going with “Learn More”
Done.
Remember when we set our countries earlier? Well, now you can duplicate your “ad set”, and choose the emerging markets (smaller countries).
Marketer’s Note: Always build your ads & preview them before publishing. One thing in particular is to check your desktop preview and edit the newsfeed description so it’s not blank.
Purchase Solo Ads Simultaneously for Additional Traffic

One of the easiest ways to drive targeted traffic to your website is with solo ads.
There are countless agencies offering subscriber listsfor your products and services. But we’re going with SoloForMe.com
A High Quality Solo Ads Agency like SoloForMe has a low learning curve and drives traffic to your website in a hurry.
Here’s how to purchase your first solo ads:
- Login to SoloForMe.com
- Click “Order Traffic”
- Select “Premium Email Traffic”
- Choose “500 Super Premium Unique Clicks”
- Click “One Time ASAP”
- Select Agree + Sign
- Click “Submit” and then Pay Now.
You will be asked when to send traffic. Just select immediately and one time for everything.
Submit.
500 clicks is more than enough to validate your offer.
In our case, Rito is offering a $1 membership – It’s a fantastic way to test consumer interest and conversion rate.
There you have it.
Should be a great feeling to have made it this far, accomplishing what you have.
We’re only 9 days away from our 30 day deadline and things are going well.
That’s a wrap for Day 21 – Well done!
If you’re not already being kept in the loop via our #Bizathon list be sure to sign up today!
As always, if you have Questions, Comments or just want to say Hi? Please do so in the comments section below.
We love hearing from you!
Success by choice, not by chance.
-David Aston

